TL;DR: AI app builders can turn a plain-language prompt into a working app foundation in minutes, but getting to a production-ready product takes hands-on editing, testing, and debugging. Pick a tool that gives you visual, editable components instead of code you can’t touch, since that’s what lets non-coders finish and ship the product themselves.
You’ve got an idea for an app. Thanks to AI, you don’t need to know how to code to build it. Type a prompt, and minutes later you’ve got something that looks like a real app.
But getting from an idea to a product you’re ready to launch takes a little more skill. You need to know how to give AI what it needs, and how to refine what it generates.
This guide walks you through it all. You’ll learn how AI app development works, the prompts that generate a solid foundation for your app, how to use an agent to review and refine that first draft, and when to jump in and edit by hand. You’ll build on Bubble, where everything stays visual and nothing’s locked away in code you can’t read or touch.
What is AI app development and how does it work?
Describe the app you want in plain language, and an AI platform turns it into a first working version. From there, you refine and test until it’s ready to launch. Traditional development starts you off with a blank page of code instead.
Most AI app builders generate some version of these three things:
- A user interface (UI): The screens and visual elements your users will interact with.
- A database: The structure that stores and manages your app’s data, like user profiles and posts.
- Workflows: The logic that makes your app do things, like what happens when a user clicks a Sign Up button.
On Bubble, all three stay visual, so you’re never digging through code. Once your app is generated, you can launch right away or keep refining until it feels right.
AI is good at a few things in particular:
- Speed: You can go from idea to something functional in minutes. That’s handy when you’re testing a concept or want to get it in front of people fast.
- Idea validation: You can build something testable before spending real time or money on it, so you know the idea holds up before you go all in.
- Repetitive setup: AI handles the busywork, like setting up database tables, laying out pages, and wiring basic workflows. That frees you up for the stuff that actually matters.
But AI isn't as strong with all the details. It's good at getting you most of the way there fast, but design polish, tricky edge cases, and the underlying infrastructure usually still need work after that first draft.
The problem isn't that AI stalls out — it's that most tools only let you keep prompting to fix what's left. You can't step in to redirect the design, and you're stuck with output you didn't fully choose. On Bubble, you can jump into the visual editor at any point and refine your app directly, without coding or prompting.
What can you build with AI?
You can use AI to build apps for just about everything. Here are a few examples of how builders use it:
- Marketplaces: Platforms that connect two sides, like buyers and sellers, or hosts and guests. Local service marketplaces and niche rental sites are common examples. These typically need logins, listings, messaging, and payments built in.
- SaaS products: Subscription software for a specific job, like project management, CRM, booking, or analytics. These need user accounts, billing, and usually some way for teams to work together.
- Internal tools: Apps that fix a workflow problem inside a company, like inventory tracking, approvals, or reporting. Most of these need role-based permissions and a way to plug into existing systems.
- Social platforms: Apps built around content and community, from niche social networks to discussion forums. Profiles, feeds, posting, and notifications are the basics.
- Native mobile apps: iOS and Android apps that live in the App Store and Google Play Store. These need the same core pieces as web apps, like a database and workflows, plus native features like push notifications and app store publishing.
What ties these together: They’re real products serving real users, not demos. Getting there depends on how well you can refine the details after that first generation.
What to look for in an AI app builder
Before you pick a tool, it’s worth knowing what you’re getting into. That choice determines how much control you’ll have once it’s time to refine your app.
| What to evaluate | What to look for | The risk if you get it wrong |
|---|---|---|
| Visual vs. code output | You want a builder that shows you the app, not just the code behind it, so you can edit without coding. | If it just outputs code, you can get stuck once something needs deeper debugging. |
| Integrated platform vs. frontend-only | Look for a platform where AI generates the database and workflows as well as the frontend, with hosting, deployment, and visual editing built in. | Frontend-only tools often mean setting up a separate database and backend yourself, which adds time and complexity. |
| Mobile and web support | Look for a platform that builds web and native iOS and Android apps from one editor with a shared backend, and check which parts of mobile generation are AI-assisted versus manual. | Weak mobile support often means rebuilding your app separately for iOS and Android, or shipping a wrapped version that doesn't feel native. |
| Path to production | Your builder should come with secure hosting, auto-scaling, and privacy controls built in. | Without them, what you have is a demo, not something ready for real users. |
| Escape hatch when AI reaches its limits | A visual editor lets you build the feature yourself when AI can't deliver it. | With code-generating tools, you're stuck depending on code you can't inspect or adjust yourself. |
How to build an app with AI in 7 steps
Every AI app builder follows some version of prompt, generate, refine, test, launch, and keep improving, though the exact steps vary by platform. Here’s how it works on Bubble, step by step.
Step 1: Craft your prompt
Head to the AI app generation page and write your prompt in plain language, being as specific as you can. Include the type of app you’re building, who it’s for, and the core features. For design, you can set up your color preferences, a theme (like dark mode or minimalist), or a reference style (playful startup, corporate professional).
Vague prompts tend to produce something generic, so give the AI enough to work with. It also won’t override its own guidelines just because you ask it to, no matter the reason. (Deliberate attempts to manipulate it into ignoring them, known as prompt injections, get rejected outright.)
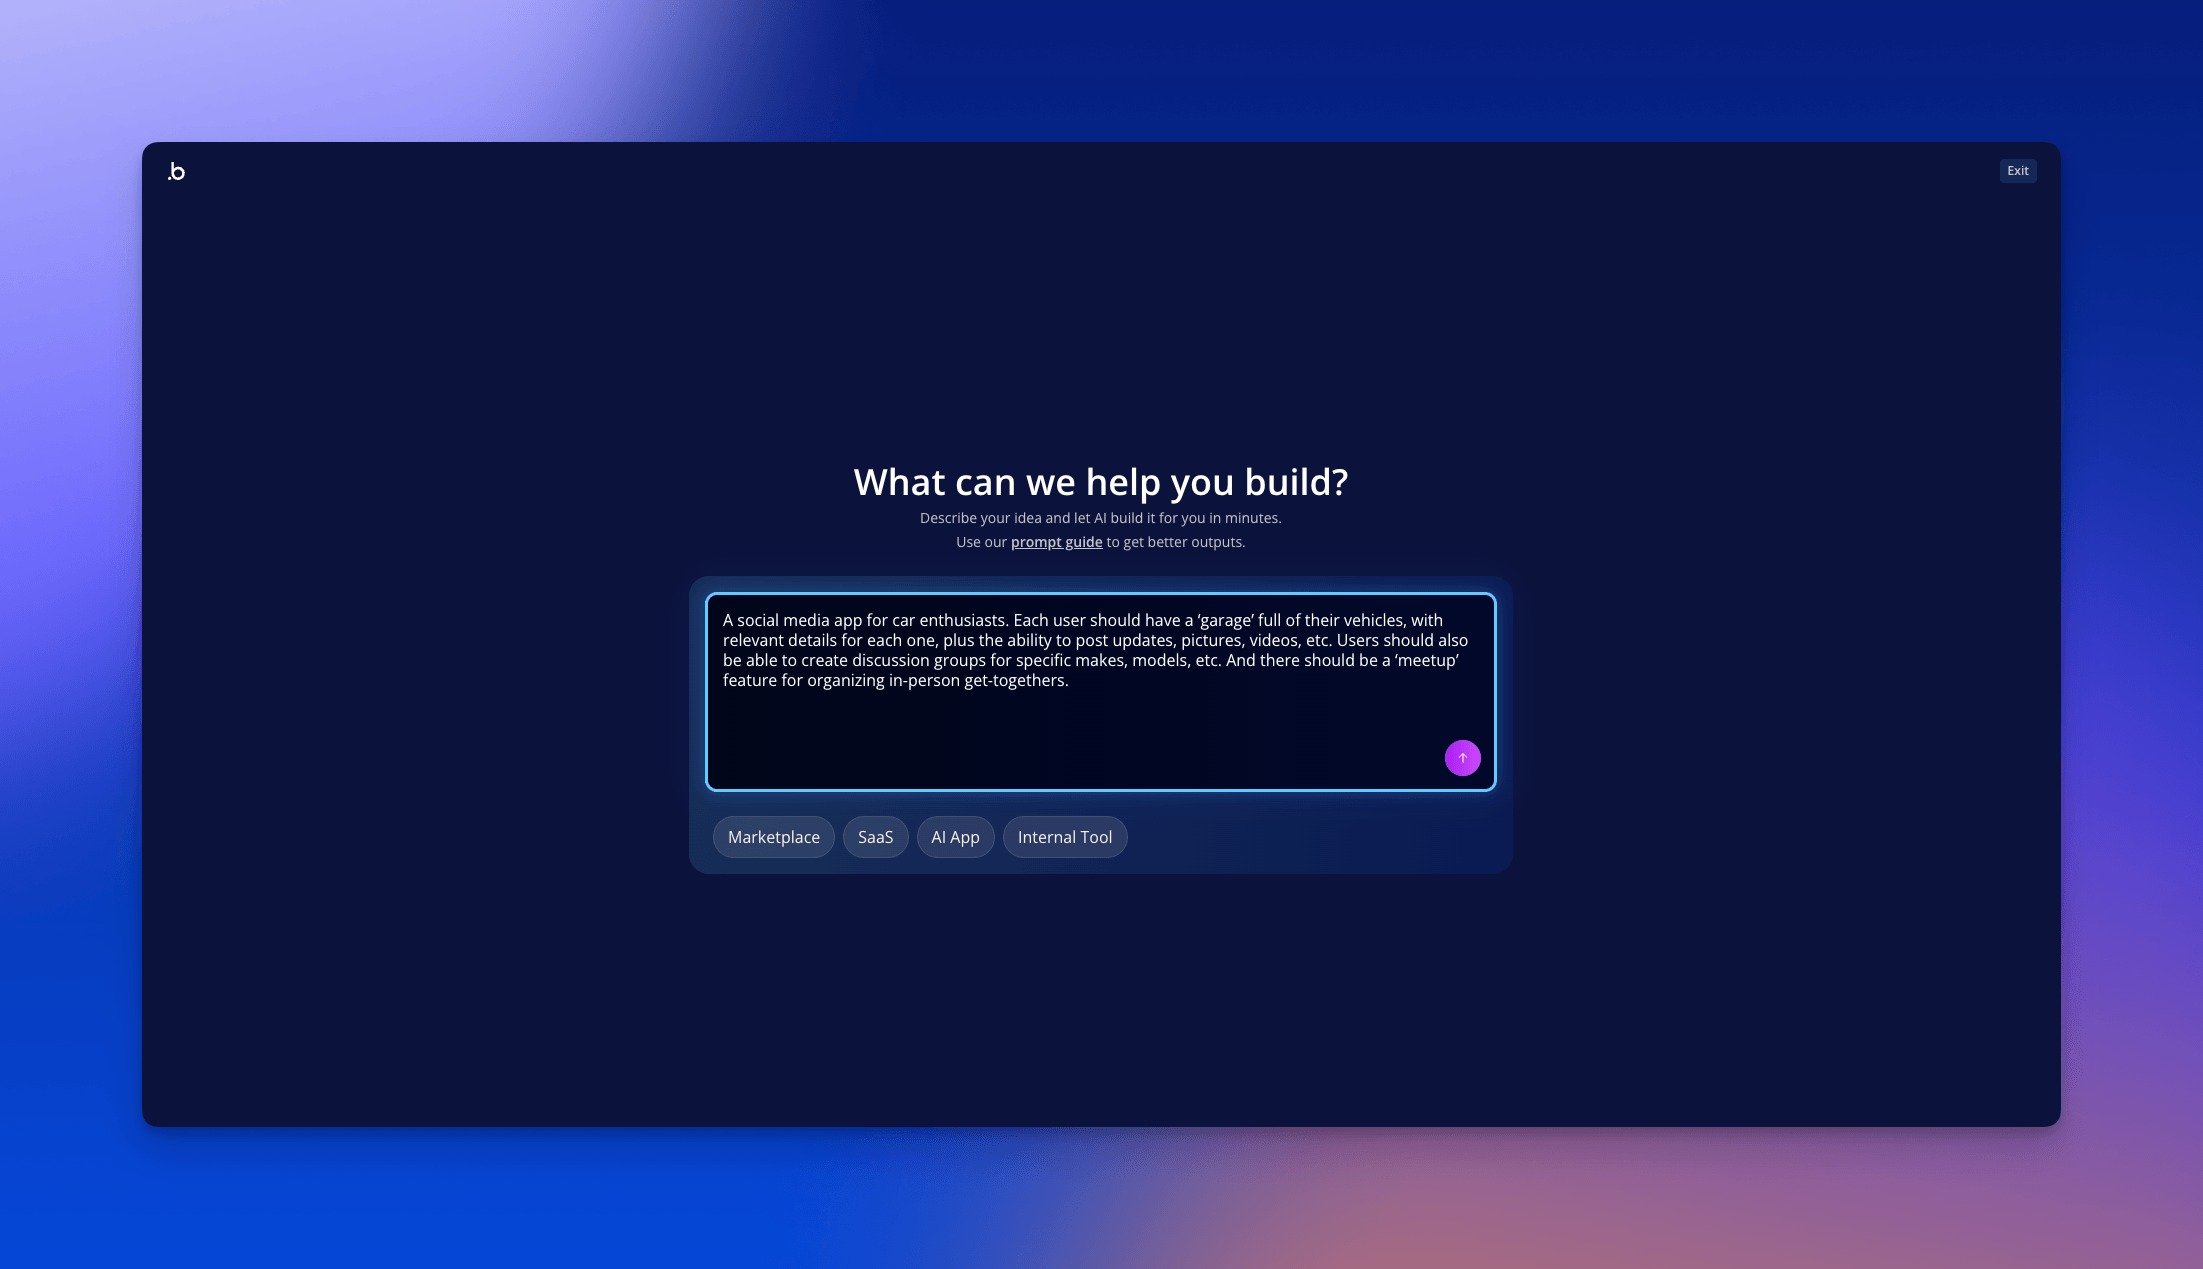
For this example, we’ll use an expanded prompt:
“A social media app for car enthusiasts. Each user should have a ‘garage’ full of their vehicles, with relevant details for each one, plus the ability to post updates, pictures, videos, etc. Users should also be able to create discussion groups for specific makes, models, etc. And there should be a ‘meetup’ feature for organizing in-person get-togethers.”
A prompt like this gives the AI enough to work with and reduces the amount of back-and-forth needed after generation.
Step 2: Generate a blueprint
Click Generate and Bubble AI produces a blueprint: a structured list of features and user stories based on your prompt. This gives you a chance to review what the AI is planning to build before it actually builds it.
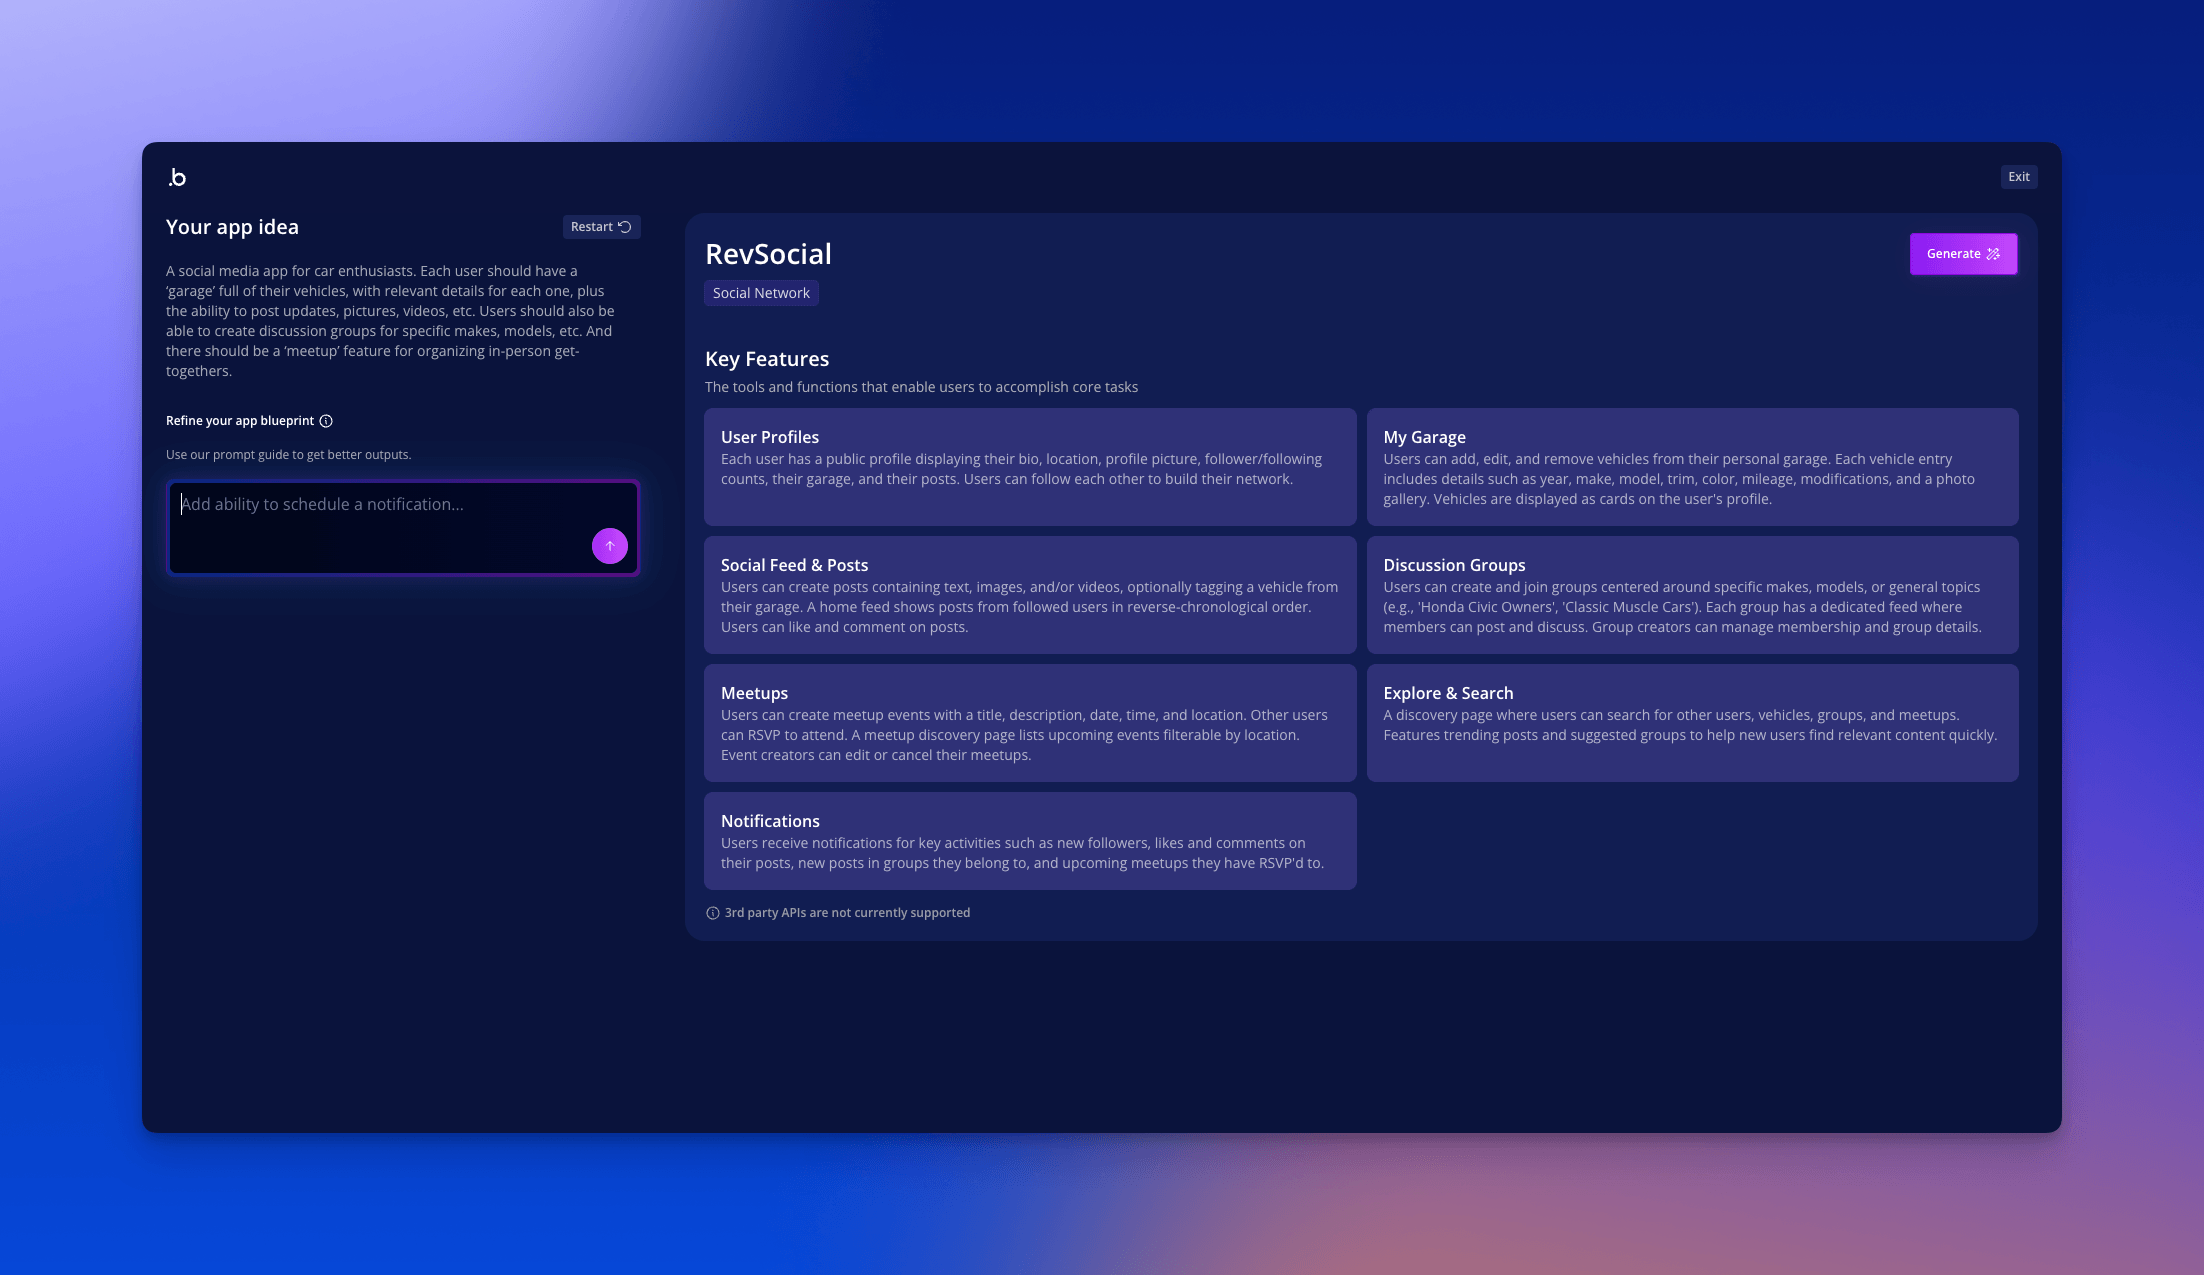
For the car enthusiast app, the blueprint might include features like:
- Garage management: Users can add vehicles to their personal “garage,” with details like make, model, year, and photos. They can edit or remove vehicles as needed.
- Content creation and sharing: Users can post updates, pictures, and videos. Posts can be viewed by followers and interacted with through likes and comments.
- Discussion group management: Users can create and join groups focused on specific makes or models, and start or join conversations within those groups.
- Meetup organizer: Users can create events with a date, time, and location. Other users can RSVP to attend.
- User authentication: A signup and login system so only registered users can access garages, post content, and join groups.
- User profile management: Users can manage their profile, including personal details, their vehicle list, and their posts. Profiles can be customized with an avatar and bio.
Step 3: Refine your blueprint
Go through the features and check that everything matches what you’re trying to build. If something’s missing or not quite right, describe the change in plain language and the AI will update the blueprint.
The AI might suggest features you hadn’t thought of, since it fills in common patterns for the type of app you’re describing. Keep what’s useful and remove what isn’t.
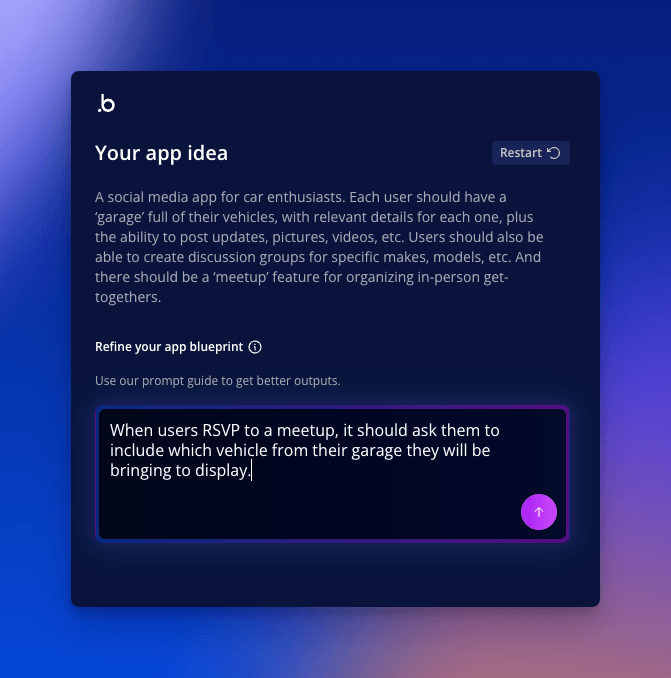
When you look at the blueprint, you might see that a feature still needs more detail. For example, you could realize that the meetup feature assumes users have only one car. So you could add something to the prompt like:
“When users RSVP to a meetup, it should ask them to include which vehicle from their garage they will be bringing to display.”
Bubble AI would update the blueprint to reflect this, potentially adding a new user story:
- As a user, I want to RSVP to meetups and indicate which of my vehicles I will be bringing.
And updating the existing feature:
- Meetup organization: Users can plan meetups with a location, date, and time. When RSVPing, users can specify which vehicle from their garage they’ll bring.
Step 4: Generate your app
Once the blueprint looks right, click Generate. Bubble AI will build an interactive working version of your app, usually in minutes. While it’s generating, you can take a quick tour of the Bubble editor if you haven’t used it before.
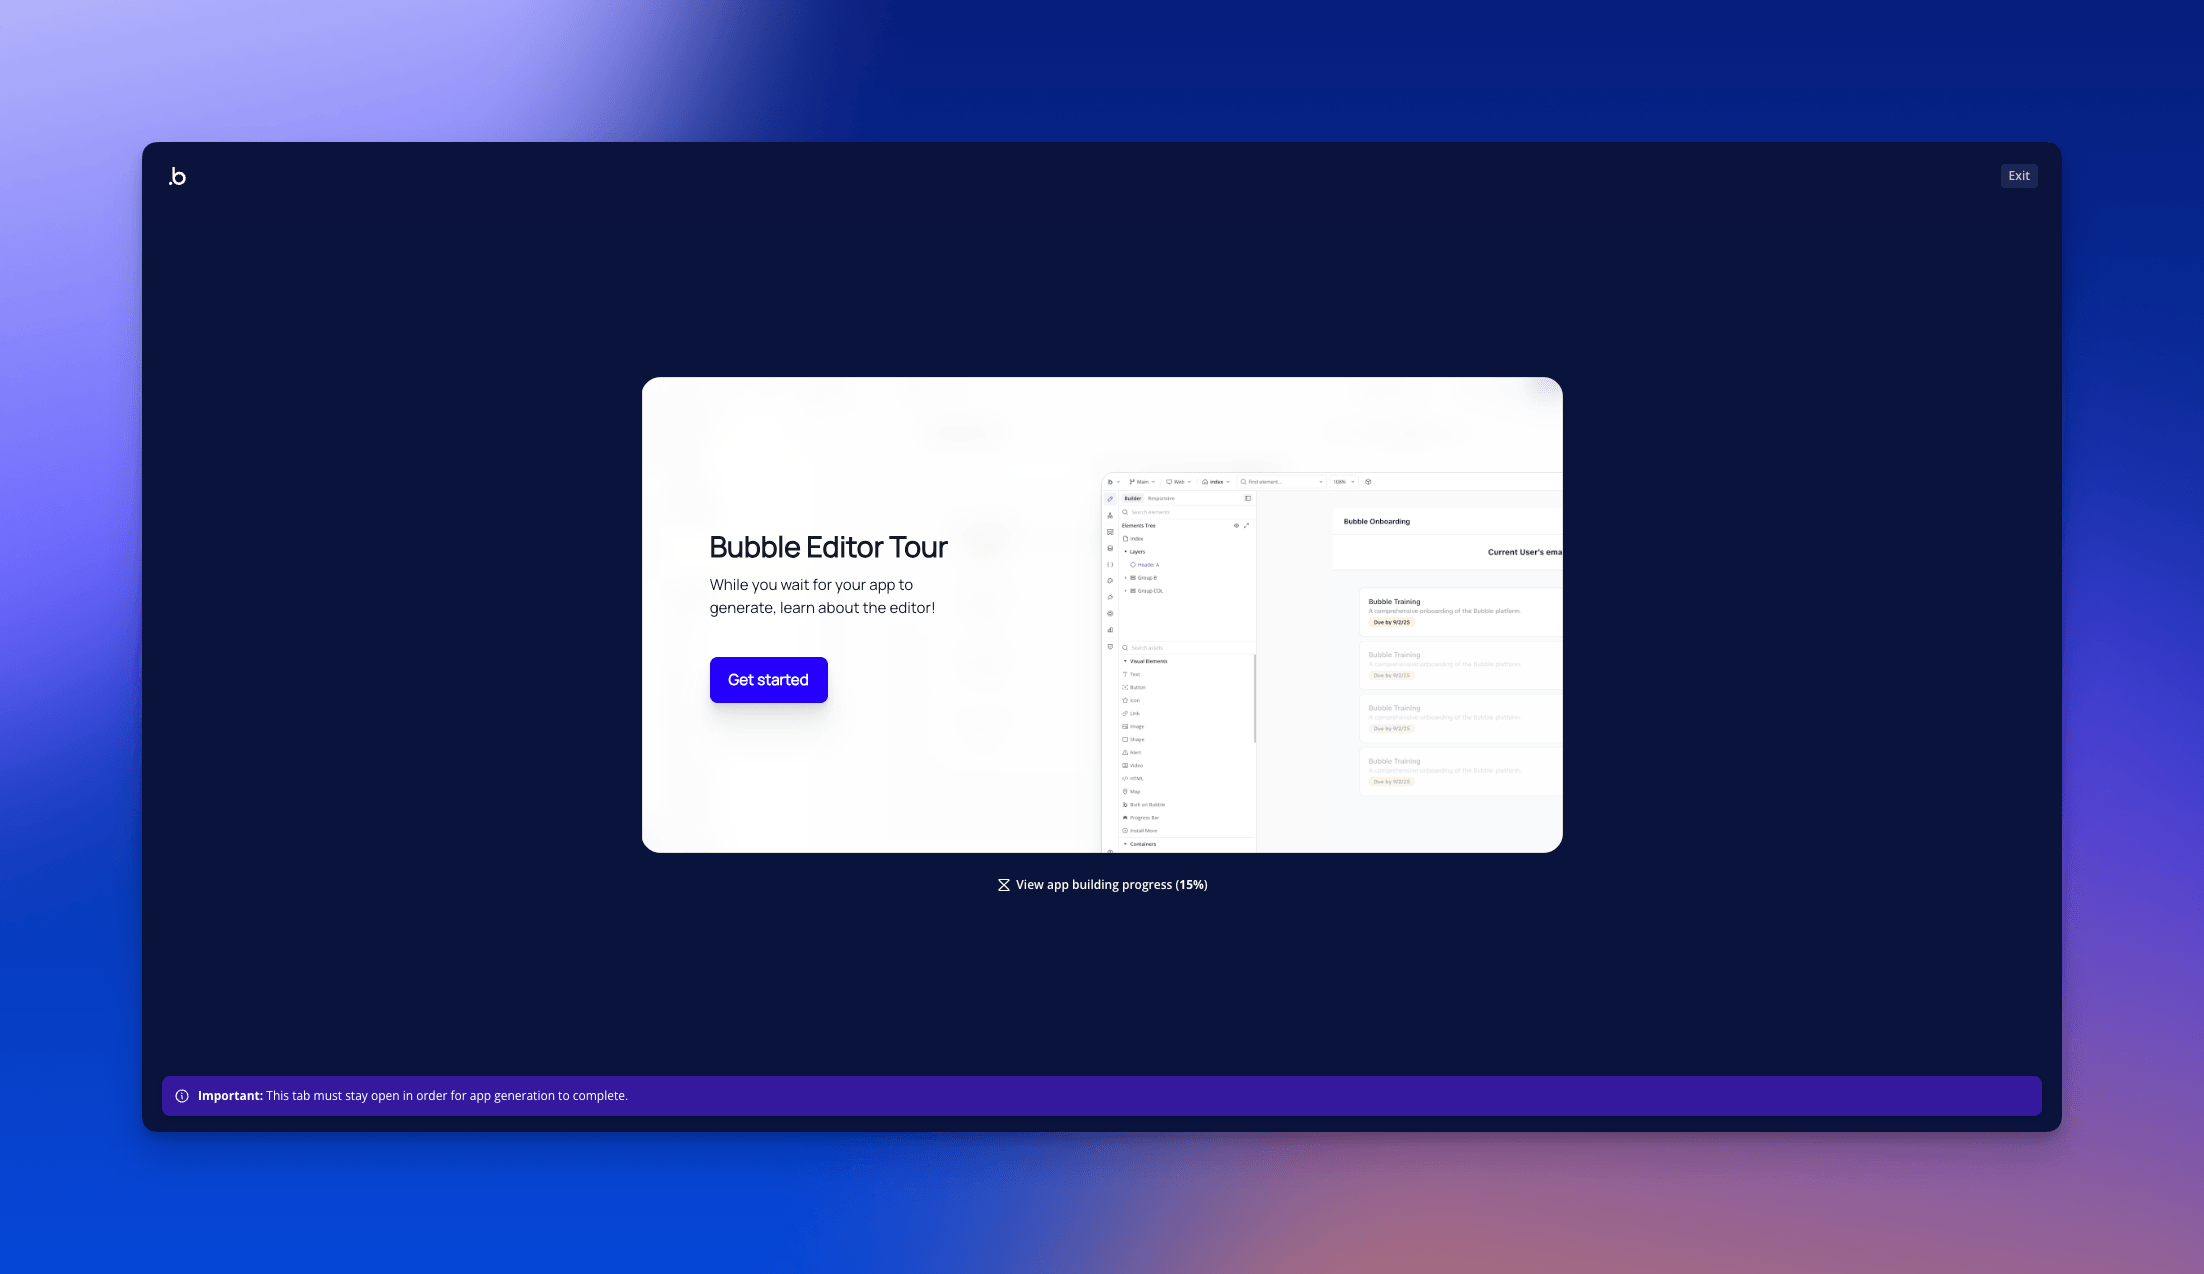
In a few minutes, you’ll have a working app, including pages, workflows, and a database, often filled with sample content so you can see it in action. (If you’re building native mobile, Bubble AI will generate everything above except workflows. The Agent can add those once your app exists.)
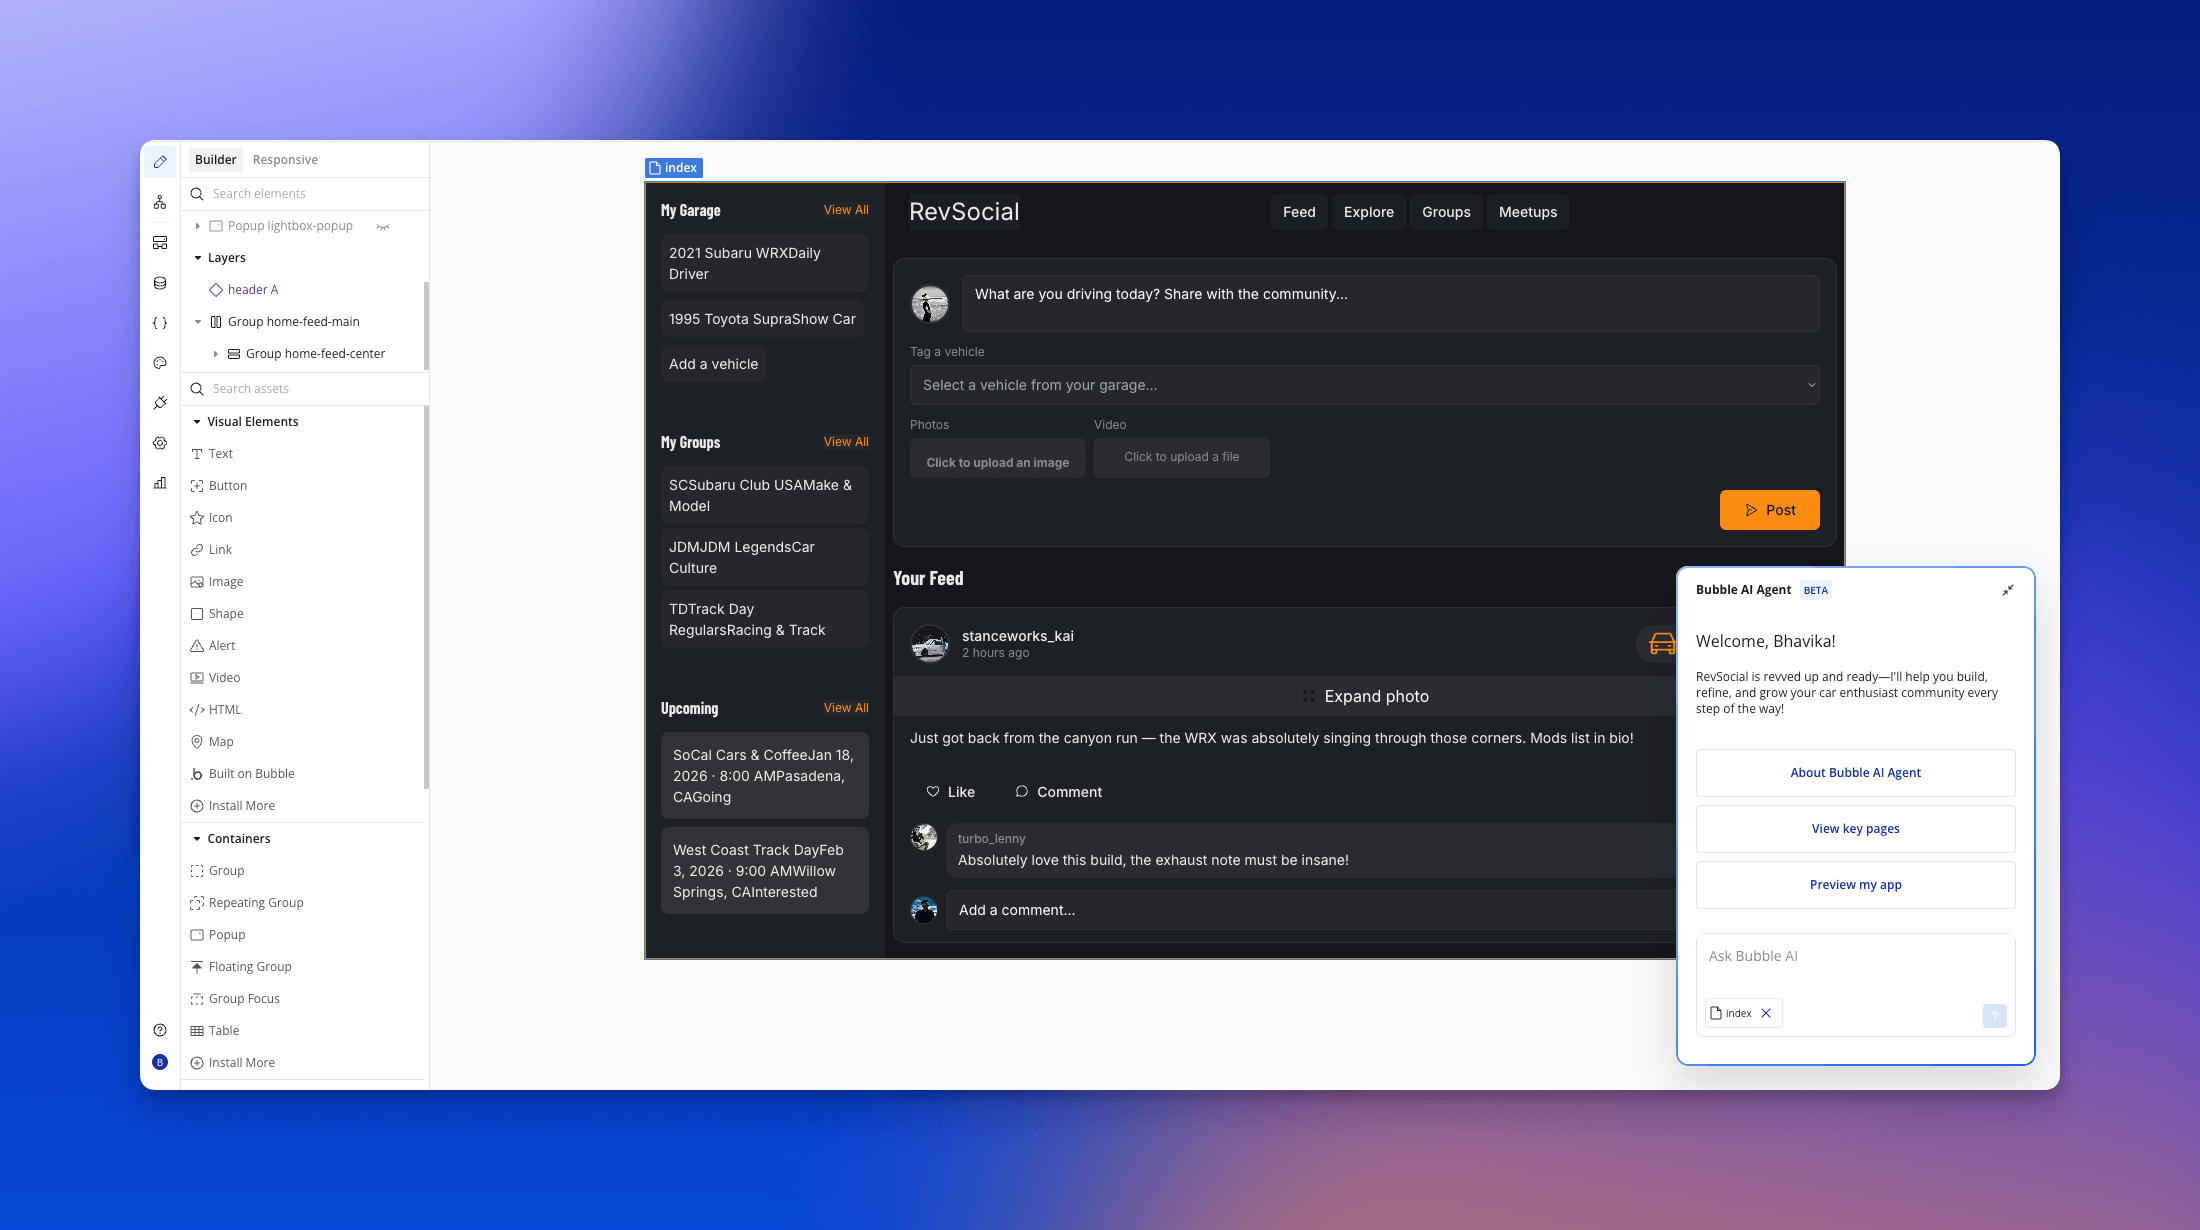
For the car enthusiast app, that might look like:
- A navigation bar: Links to Home, My Garage, Discussion Groups, Meetups, and Profile, plus a Log Out button.
- Prebuilt pages: Filled with sample data for vehicles, posts, and discussions, showing how the app will look with real content.
- Functional interactions: The ability to post updates, add or remove vehicles, join groups, and create meetups, working from the start.
Step 5: Preview your app
Click the Preview button in the top-right corner to explore your app and get a sense of what’s working and what needs attention.
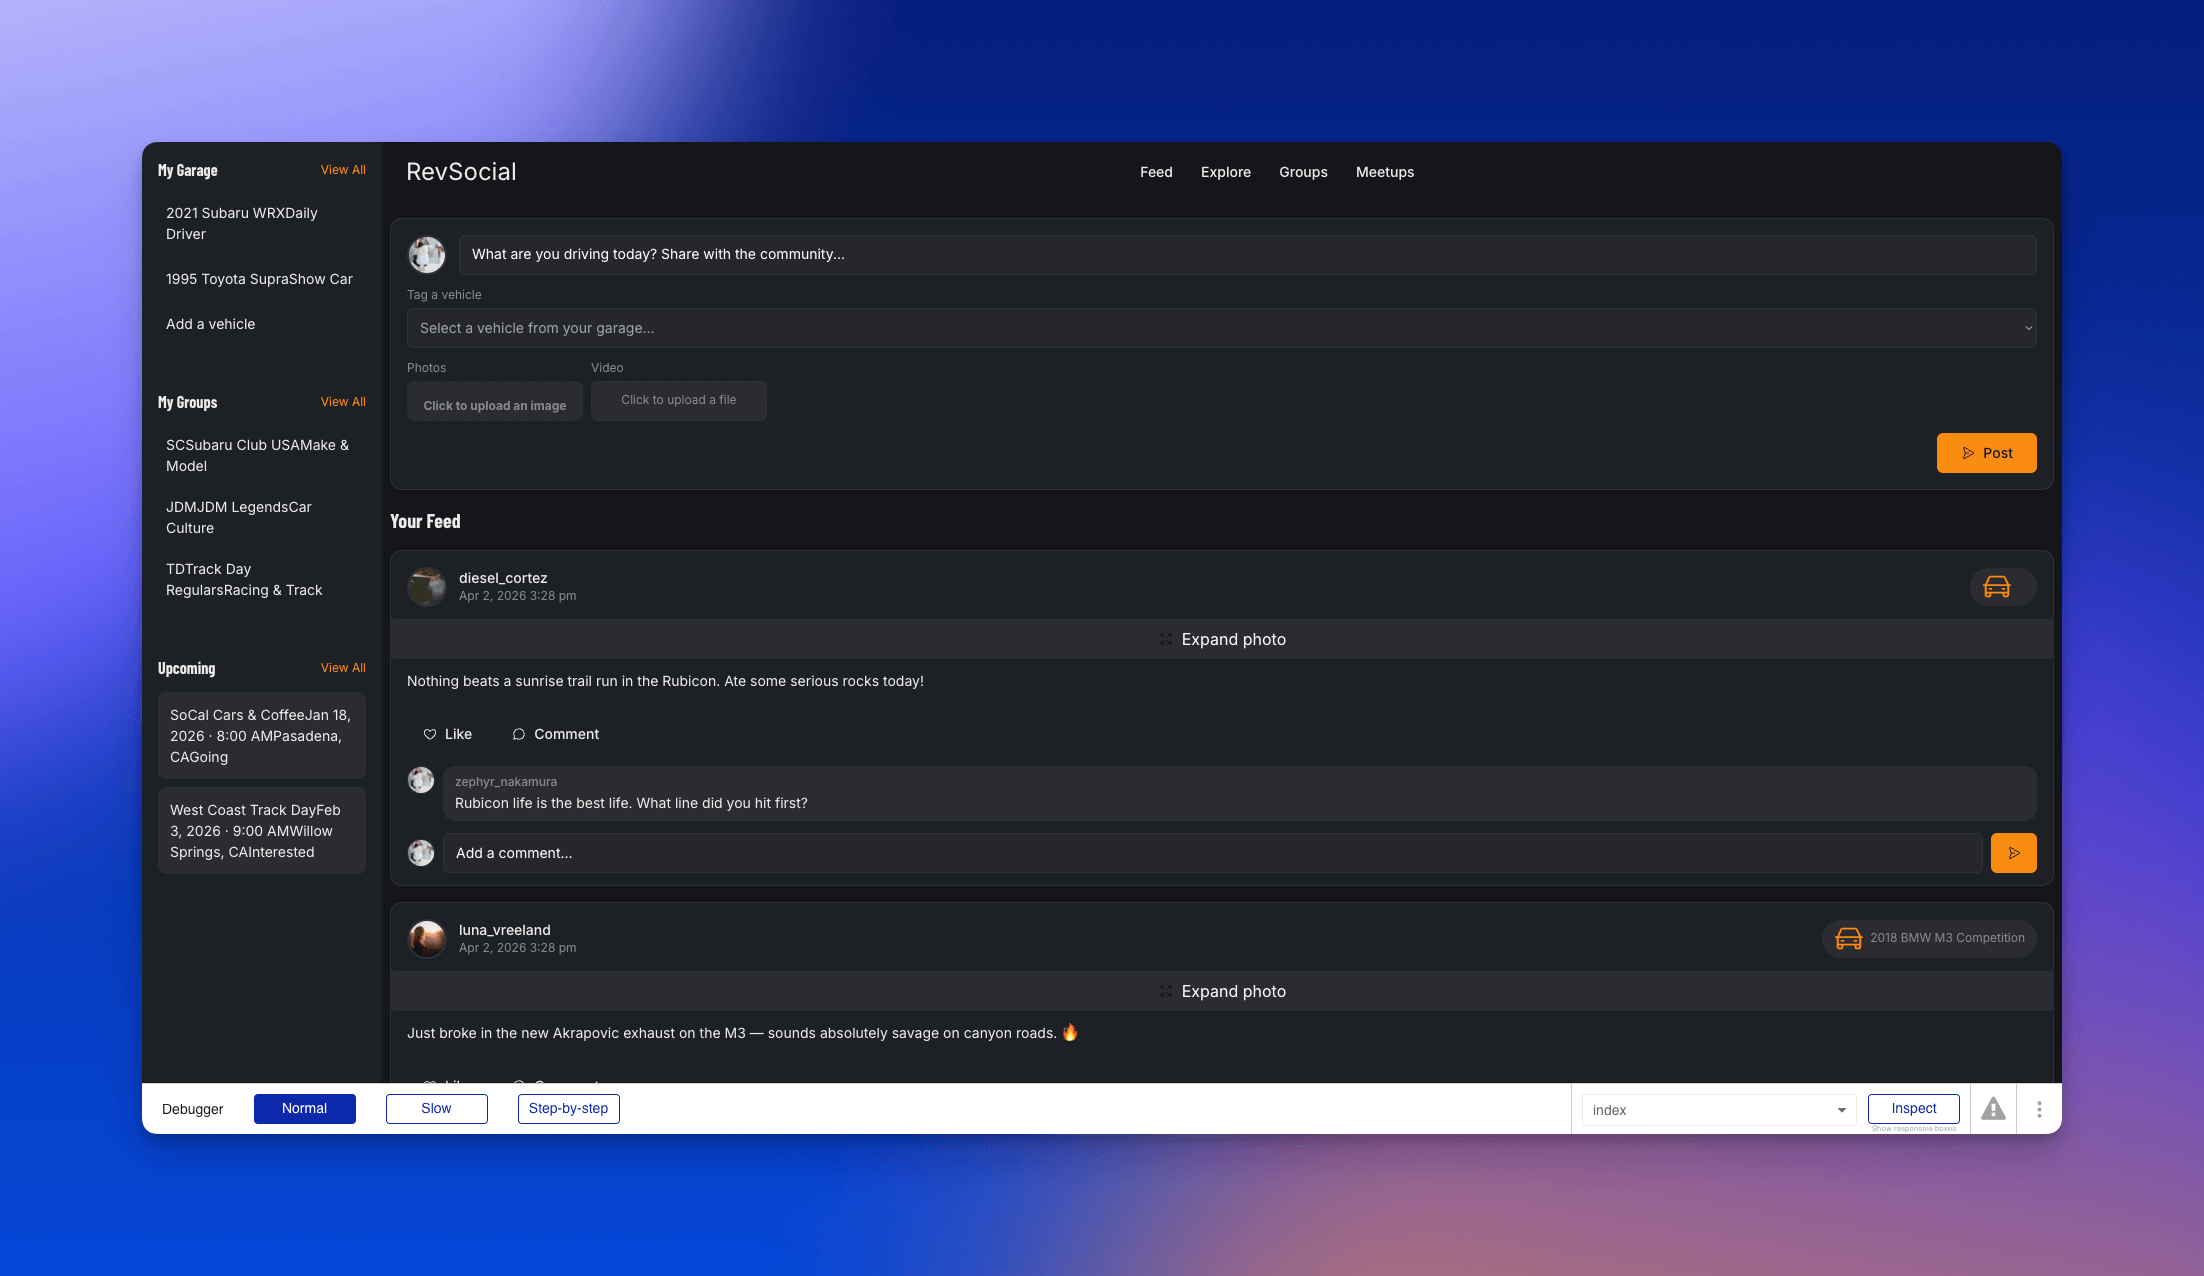
As you click through, check a few things:
- Navigation: Confirm that all the key pages are there and linked correctly. Click every menu item and button to verify that they go where you’d expect.
- Workflows: Test each feature end-to-end. Try creating a post, adding a vehicle, joining a group, or RSVPing to a meetup. If a button doesn’t do anything when you click it, the workflow trigger probably needs attention in the editor.
- Data accuracy: Verify that sample records display correctly. Confirm that a user’s vehicles show up in their garage and that posts show the right author.
Many core flows will work right away. Others will need some refinement, like adding image compression to posts or setting up email notifications for meetup RSVPs. That’s normal, and it’s what the next step is for.
Step 6: Debug and refine app functionality
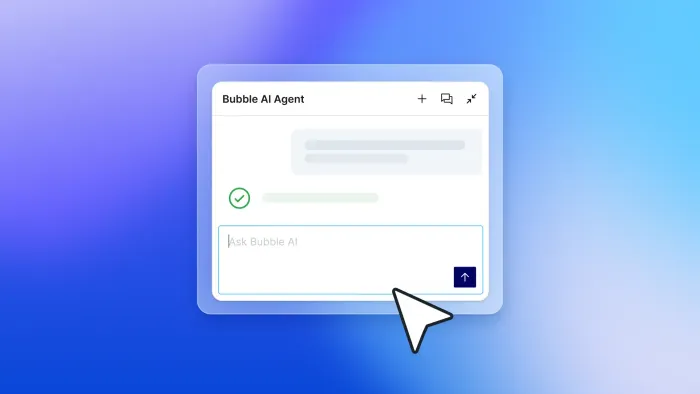
You have two main ways to refine your app: ask the Bubble AI Agent (beta) to make changes through conversation, or edit things directly in the visual editor.
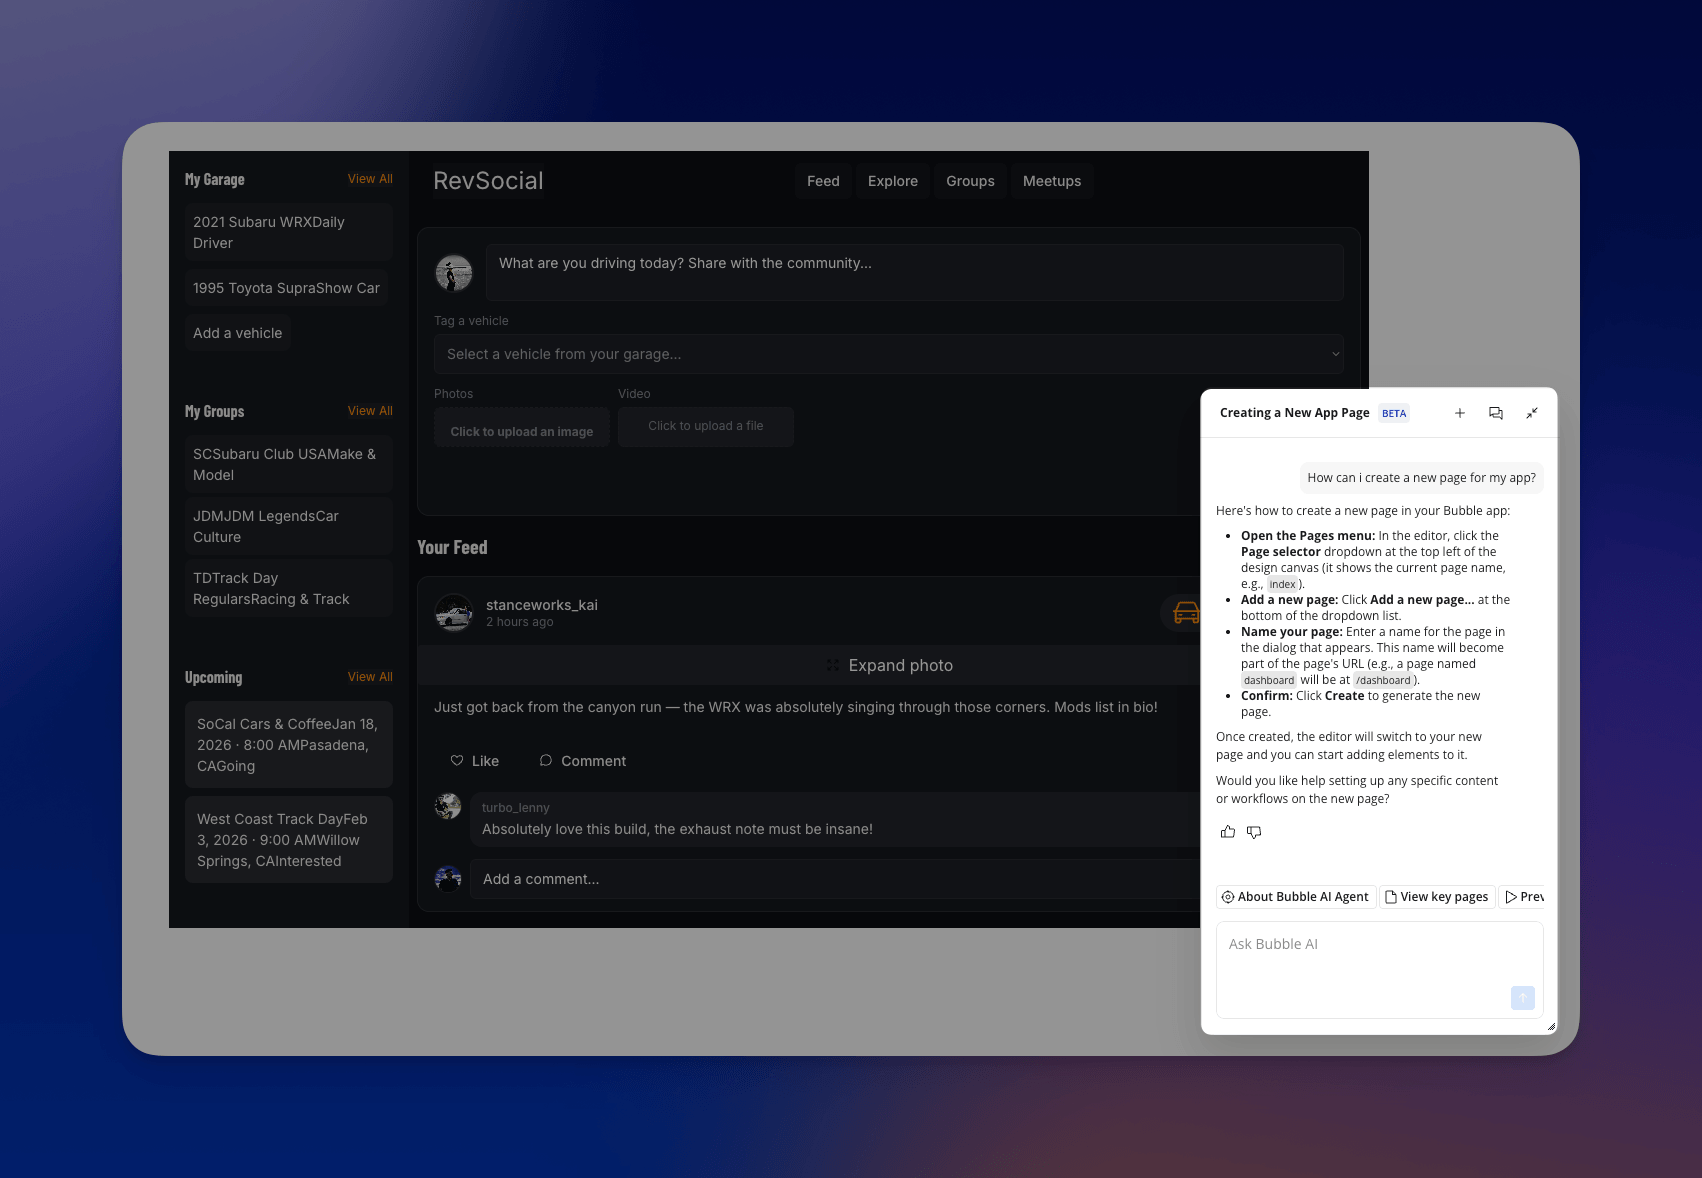
The AI Agent opens automatically when you first load your app, and you can reopen it from the magic wand icon in the top navigation bar. Ask it things like “Why aren’t images uploading correctly in posts?” and it will look at your app’s workflows and data to suggest what to check.
Turn on database access in settings, and the Agent can also look at your development data to debug issues more accurately, with sensitive fields still protected. It’s still in beta, so double-check its suggestions before applying them.
The Agent can build and modify most of your app on both web and native mobile, from UI and data types to workflows and API Connector calls. For a few sensitive or technical steps, like entering secrets or configuring OAuth2, it guides you through the process instead of doing it for you.
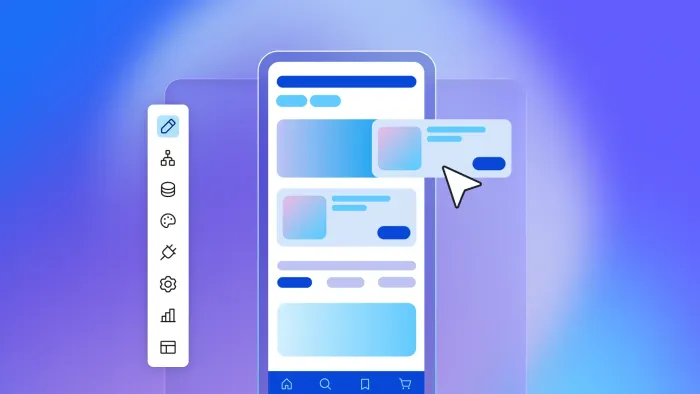
For hands-on changes, the visual editor gives you direct control over everything. Click any element to edit its properties, drag and drop to rearrange your layout, or open the workflow tab to adjust your app’s logic. You can see exactly how things are connected and make changes with as much precision as you need.
Using both together tends to work well. Ask the Agent to add a new page or adjust a data type. Switch to the visual editor when you need precise control, like fine-tuning layout or workflow conditions.
If the Agent can’t deliver what you’re asking for, you can always fix it yourself. Open the workflow tab, click the step that isn’t working, and edit it directly.
A few other things worth customizing:
- Design: Adjust colors, fonts, and layouts to match your brand. Click any element to modify its properties. The AI’s first pass is a starting point, not the final word.
- Workflows: Use the visual editor when you need precise control over advanced logic, complex conditions, or unsupported workflow actions, and use the Agent to generate, explain, or modify workflows within its current capabilities.
- Integrations: Bubble’s API Connector is a Bubble-made plugin that lets you set up RESTful API connections with compatible external systems, including services for payments, maps, AI, and more. (Tip: Ask the AI Agent to build a connection for you!)
Step 7: Deploy and iterate
Before you deploy, check the issue checker in the Bubble editor. It monitors your app as you build, flagging errors and inconsistencies as they come up. Bubble won’t let you deploy until every flagged issue is resolved, so work through anything it surfaces before going live.
When it’s clear, click Deploy to push your Development version to your Live environment.
Once you’re live, keep iterating based on what users do and what needs to be fixed. Bubble’s logs show you what’s happening in your app in real time, and the security dashboard flags vulnerabilities before they become problems. You’ve got freedom to explore here: Version control lets you roll back or branch off changes safely, and the AI Agent is there to help throughout.
Build something that ships
AI can get you most of the way to a real app, fast: describe an idea, and minutes later you have something that works. But finishing the job takes more than that first draft. Fixing a bug, adding a feature, and getting the details right all depend on whether your platform lets you see and control what AI built, instead of just handing you code you can’t read.
Bubble gives you exactly that control.
Describe your app, and Bubble AI generates the UI, database, and workflows that match your description. From there, the Agent keeps building with you through conversation. When you need precision, the visual editor is one click away.
Unlike platforms that lock you into a chat box and code you can’t read, Bubble keeps you in control from the first prompt to the final deploy, with hosting, security, and scaling built in so you’re shipping something real.
See how far your first prompt actually gets you.
Frequently asked questions about building apps with AI
Can I really build an app with AI?
Yes — AI app builders can generate a working app foundation from a plain-language description in minutes. The key difference between platforms is what happens after generation: Tools that generate code can make it harder for non-coders to understand, maintain, and precisely control what AI built, while visual builders like Bubble keep everything editable, letting you refine and ship a production-ready product yourself.
Is there an AI specifically for making apps?
Yes — purpose-built AI app builders like Bubble are designed to generate complete, functional applications with a database, visual workflows, and hosting included. General-purpose AI tools like ChatGPT can help with code and may currently create and host some web apps, but Bubble is purpose-built for launching and growing real apps with an integrated visual editor, database, workflows, privacy rules, hosting, and deployment.
Can ChatGPT build me an app?
ChatGPT can help with code, logic, reasoning, and newer web-app creation workflows, but Bubble gives you a full visual app-building environment: editable UI, database, workflows, privacy rules, hosting, and deployment in one platform.
What happens when AI can’t build what I want?
With code-generating tools, it can be harder to inspect and precisely control the deeper logic or backend behavior if you don’t understand the generated code. On Bubble, you can switch to the visual editor and build the feature yourself — everything is visible, so you can make precise changes without touching code.
How long does it take to build and deploy an app with AI?
Bubble AI can generate an initial working app in minutes. Most builders spend a few hours to a few weeks refining their generated app before launching, depending on the scope, integrations, and how polished they want the first version to be.
Build for as long as you want on the Free plan. Only upgrade when you're ready to launch.
Join Bubble